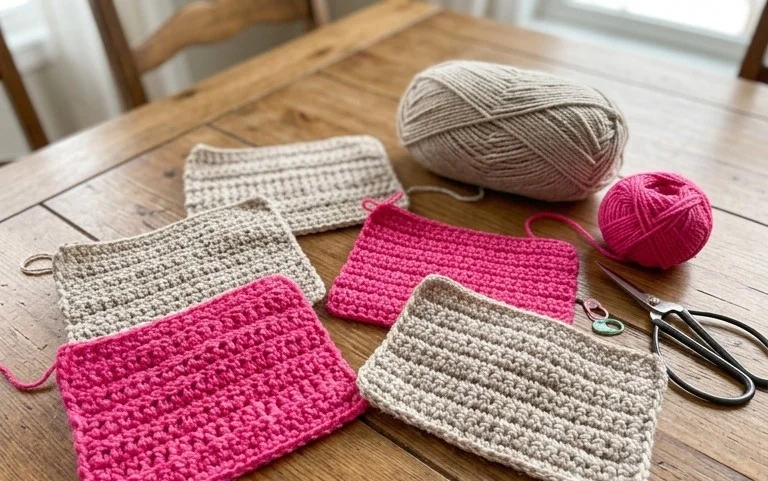
Easy Granny Square Crochet Pattern: Free Step-by-Step
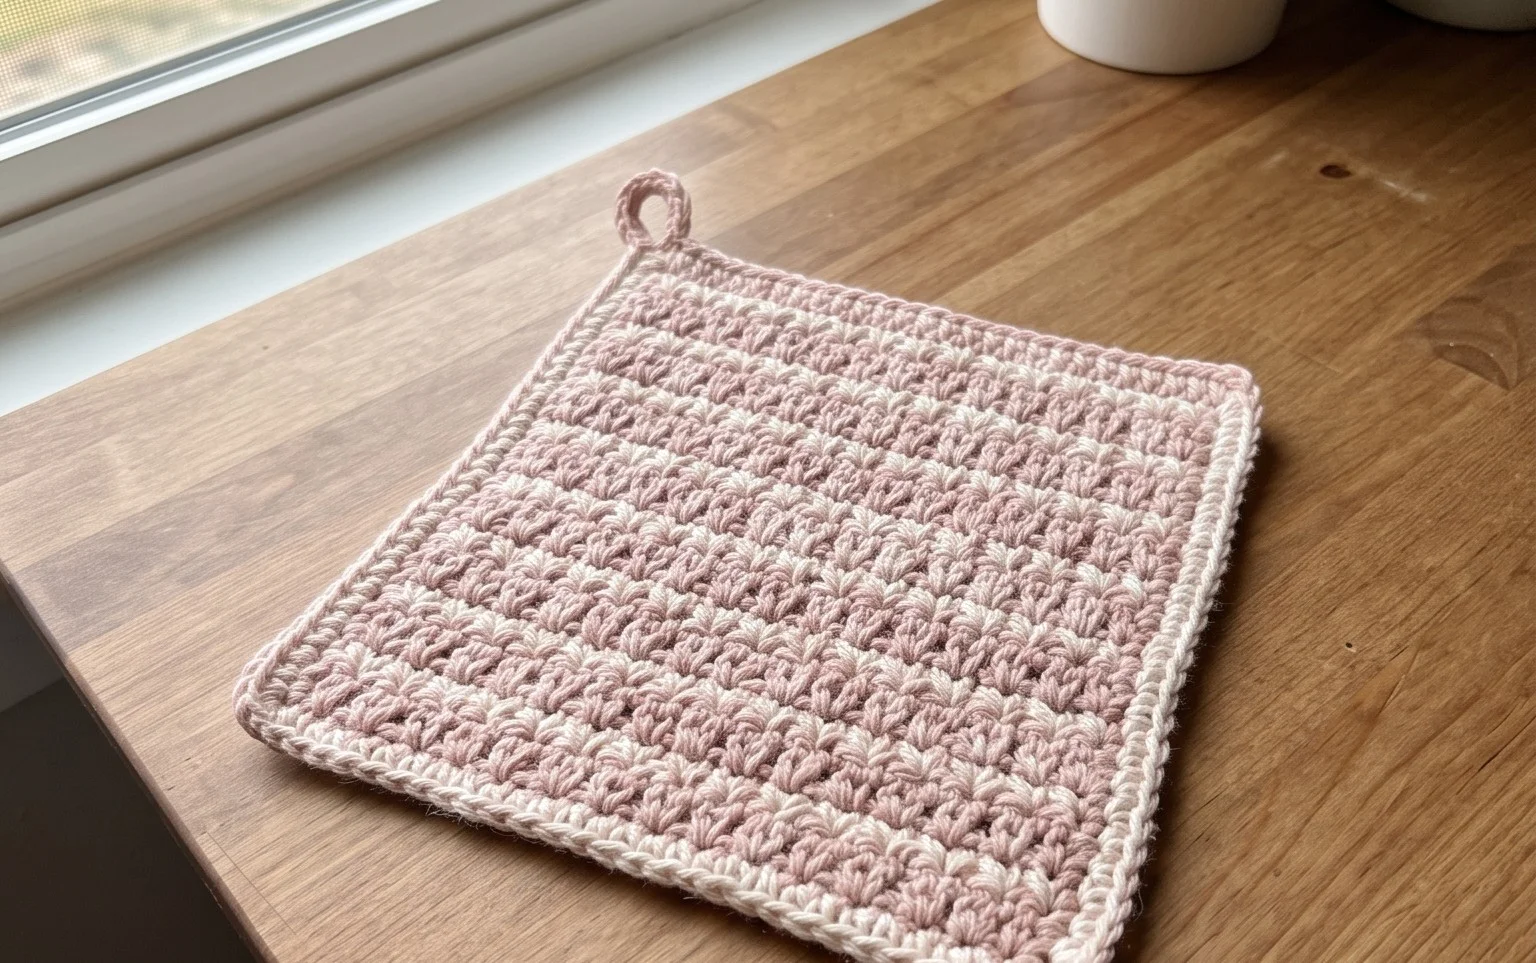
A soft cotton square feels sturdy yet flexible under your fingertips, offering a satisfying weight that makes it a joy to hold while you work. These squares provide a dependable foundation for anyone learning to crochet, whether you want to brighten up a living room chair or stitch a thoughtful handmade gift for a friend. You gain confidence with each round, mastering the rhythmic double crochet clusters that form the heart of the design. This simple technique transforms a single ball of yarn into a polished piece of decor. By focusing on consistent tension, you will create uniform edges that lay flat every single time without struggle or frustration.
Why You’ll Love This Pattern
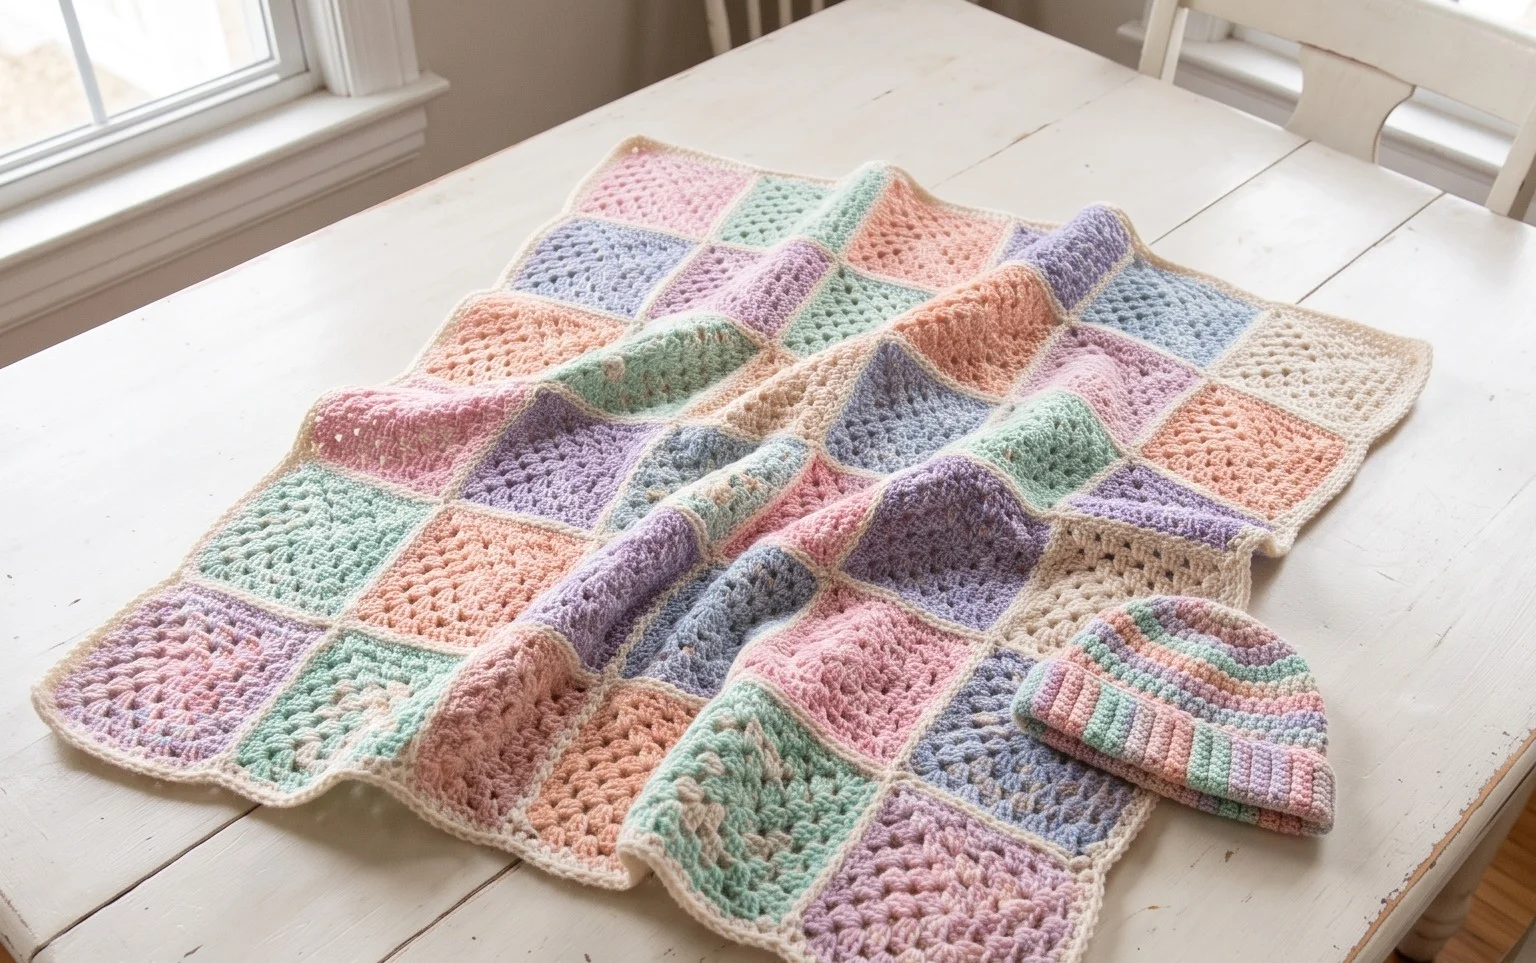
The Classic Crochet Granny Square is the quintessential building block for crochet enthusiasts. This design relies on a rhythmic, three-double-crochet cluster technique that works up quickly, making it a satisfying project for clearing out leftover yarn scraps from your stash. Because the square grows in rounds, you can easily stop at any size to create everything from coasters to oversized afghans. Its simple construction means fewer ends to weave in compared to complex, highly textured patterns, and the consistent repeat makes it a meditative task for evening crafting sessions.
I started these squares as a way to use up my scrap yarn and ended up with a beautiful, colorful blanket for my guest room. The instructions are so easy to follow that I could finish a square while watching a movie without losing my place.
— Sarah, hobbyist crocheter
Pattern Overview & Skill Level
- Skill Level: Beginner
- Approximate Time: 30 to 45 minutes per square
- Construction: Worked in joined rounds, starting from a center ring
- Finished Dimensions & Sizing: Approximately 6 inches by 6 inches when using worsted weight yarn
Materials & Supplies Needed
- Yarn: Worsted #4 weight, 100% cotton or acrylic, approximately 25 yards per square.
- Hook Size: 5.0 mm (US H-8).
- Notions: Tapestry needle for weaving in ends, sharp scissors.
- Safe yarn substitutions: You may use DK weight yarn with a 4.0 mm hook for a smaller, tighter square, or bulky weight yarn with a 6.0 mm hook for a larger, faster-working square. Note that changing weight will significantly alter the final dimensions and texture.
Stitch Guide & Abbreviations (US Terms)
- ch = chain
- st = stitch
- sl st = slip stitch
- dc = double crochet
- cluster = a group of 3 dc stitches worked into the same space
- sp = space (the gap created by chains in the previous round)
Step-by-Step Pattern Instructions
This pattern is worked in continuous rounds, joining at the end of each round to maintain the square shape.
Granny Square Body
- Rnd 1: Ch 4, join with sl st to the first ch to form a ring. Ch 3 (counts as 1 dc), work 2 dc into the ring, ch 2, *3 dc into ring, ch 2; repeat from * two more times. Join with sl st to the top of the beginning ch-3. (12 dc, 4 ch-2 spaces)
- Rnd 2: Sl st into the next ch-2 space. Ch 3, 2 dc, ch 2, 3 dc in same corner space. *Ch 1, skip 3 dc, (3 dc, ch 2, 3 dc) in the next corner space; repeat from * around. Join with sl st to the top of the beginning ch-3. (24 dc, 4 corner ch-2 spaces, 4 ch-1 side spaces)
- Rnd 3: Sl st into the next ch-2 corner space. Ch 3, 2 dc, ch 2, 3 dc in same corner. *Ch 1, 3 dc in next ch-1 space, ch 1, (3 dc, ch 2, 3 dc) in corner; repeat from * around. Join with sl st to the top of the beginning ch-3. (36 dc, 4 corner ch-2 spaces, 8 ch-1 side spaces)
- Rnd 4: Continue in established pattern, working 3 dc in each side ch-1 space and (3 dc, ch 2, 3 dc) in each corner. Join with sl st. (48 dc, 4 corner ch-2 spaces, 12 ch-1 side spaces)
Finishing
After reaching your desired size, fasten off leaving a 6-inch tail. Pull the tail through the final loop to secure the knot. Use a tapestry needle to weave the end back and forth through the back of the double crochet stitches to hide the yarn tail. Trim any excess yarn flush with the fabric.
Care & Washing Instructions
- Hand wash or machine wash on a delicate cycle using cool water and mild detergent.
- Lay the square flat on a clean towel and reshape it while damp to ensure straight edges.
- Do not tumble dry; air dry away from direct sunlight to prevent fiber fading.
Pro Tips & Common Mistakes to Avoid
- Maintain consistent tension by holding your yarn with light, even pressure. If your square begins to ripple or curl, your tension is likely too tight or too loose, respectively.
- Use a stitch marker in the top of your starting chain-3 to easily identify where to join your round at the end.
- Weave your ends into the base of the stitches of the same color to ensure they remain invisible from the front.
- To adjust the size, simply add more rounds using the same increase logic: always place (3 dc, ch 2, 3 dc) in corner spaces and 3 dc in side chain-1 spaces. More rounds will require more yardage per square.
Frequently Asked Questions
Can I use different yarn weights together in one blanket?
It is generally recommended to stick to one weight of yarn for a single project. Mixing weights creates uneven tension and square sizes that will be difficult to join seamlessly.
Is this pattern suitable for someone who has never held a crochet hook?
Yes, this is an ideal beginner project. It teaches the foundational skills of chaining, joining in the round, and the double crochet stitch in a repetitive, easy-to-learn format.
How do I join these squares together to make a larger item?
You can join squares using a whip stitch with a tapestry needle, or by using a slip stitch join along the edges. Both methods provide a secure seam for blankets or garments.
May I sell the items I make from this pattern?
You are welcome to sell finished products made from this pattern, provided you credit the designer. Always check the specific terms of use provided by the pattern source if you are using this as a foundation for commercial work.
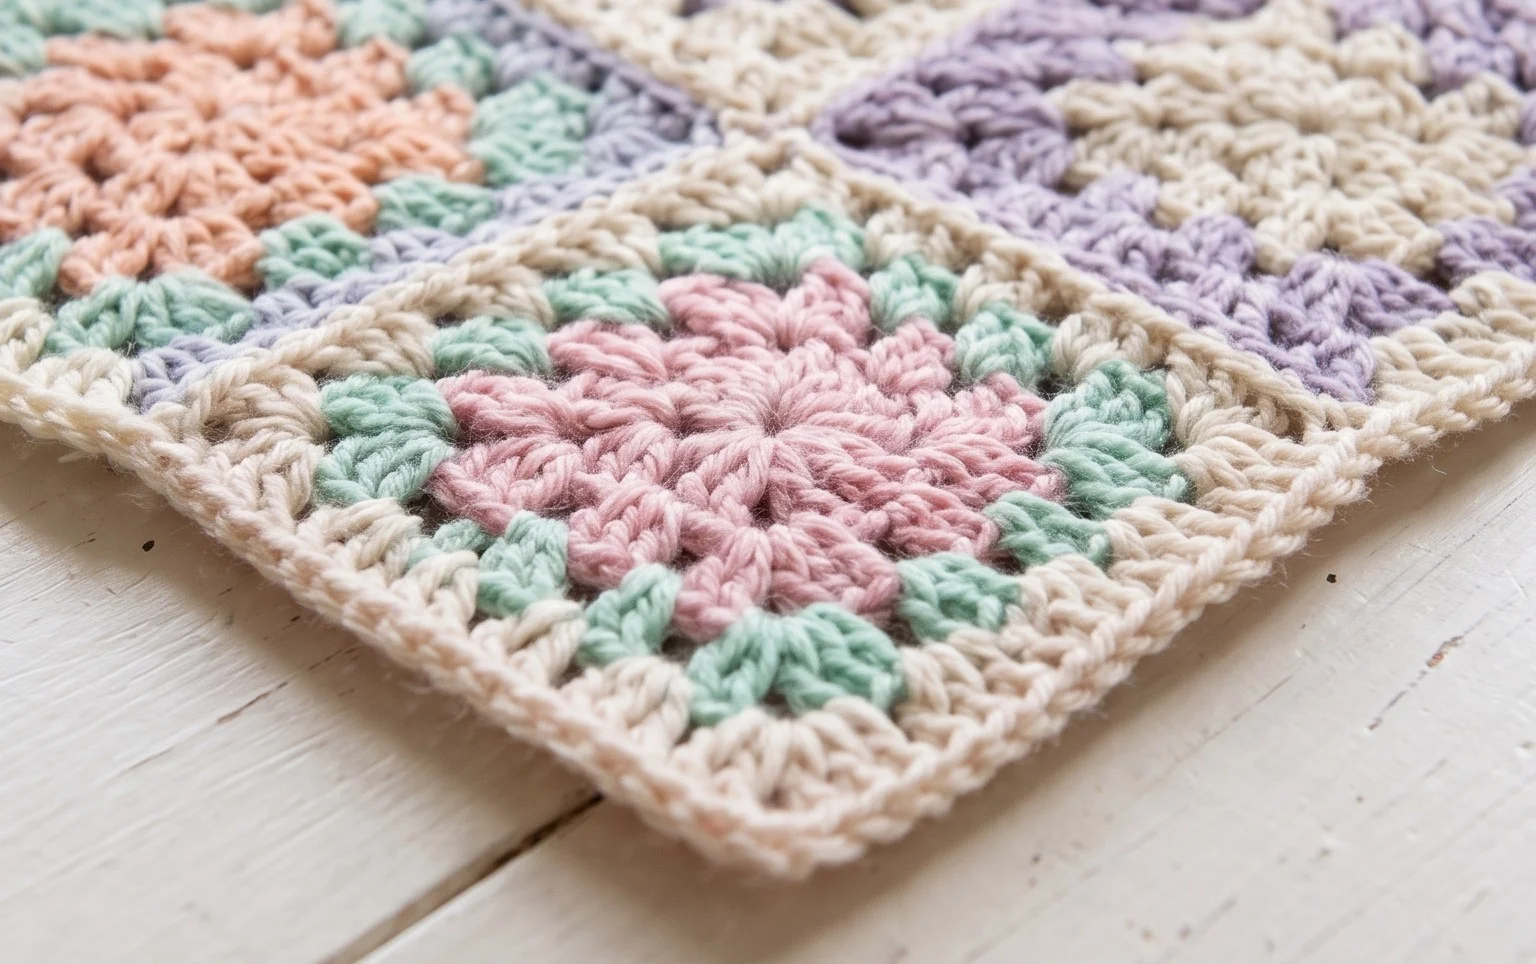
Your new handmade square looks lovely resting on a side table or grouped together into a colorful throw blanket for chilly evenings. You might attempt this project again using a fuzzy wool blend for a softer texture or working in a single solid color to emphasize the classic geometric shape of the stitches. Sharing your finished work online helps others find inspiration for their own yarn stash projects. Please post a photo of your progress to show off those clean corners. You can visit the archives on our blog to discover additional free projects that help you grow your skills with every stitch.