Easy Baby Blanket: Free Crochet Pattern for Beginners
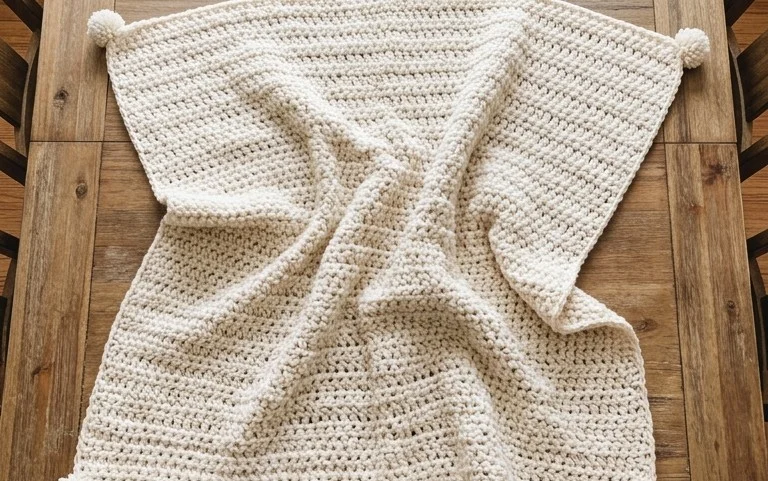
Soft yarn creates a comforting hug for a newborn, and this simple project allows you to finish a nursery essential in record time. The finished fabric carries a classic look that fits well in any nursery, making it a thoughtful gift for friends or family. You will learn how to maintain straight edges and even tension while working in joined rounds, which prevents your square from twisting. Whether you are building your skills or just need a mindless project to keep your hands busy during the evening, this technique turns basic stitches into something lasting.
Why This Project Is Worth Making
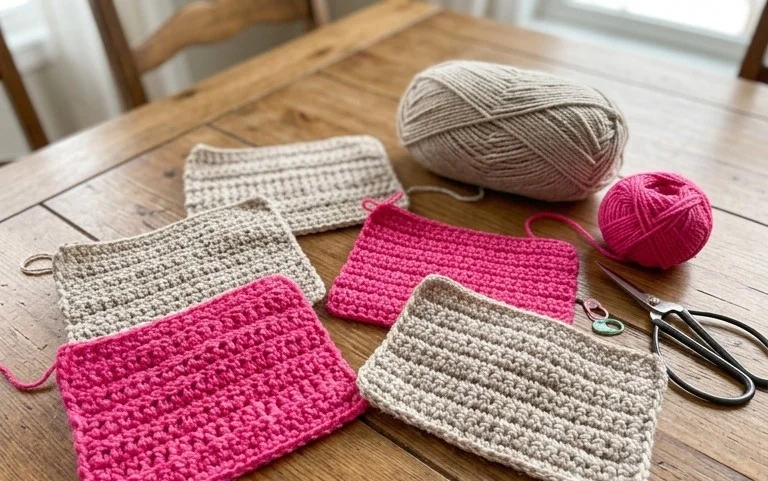
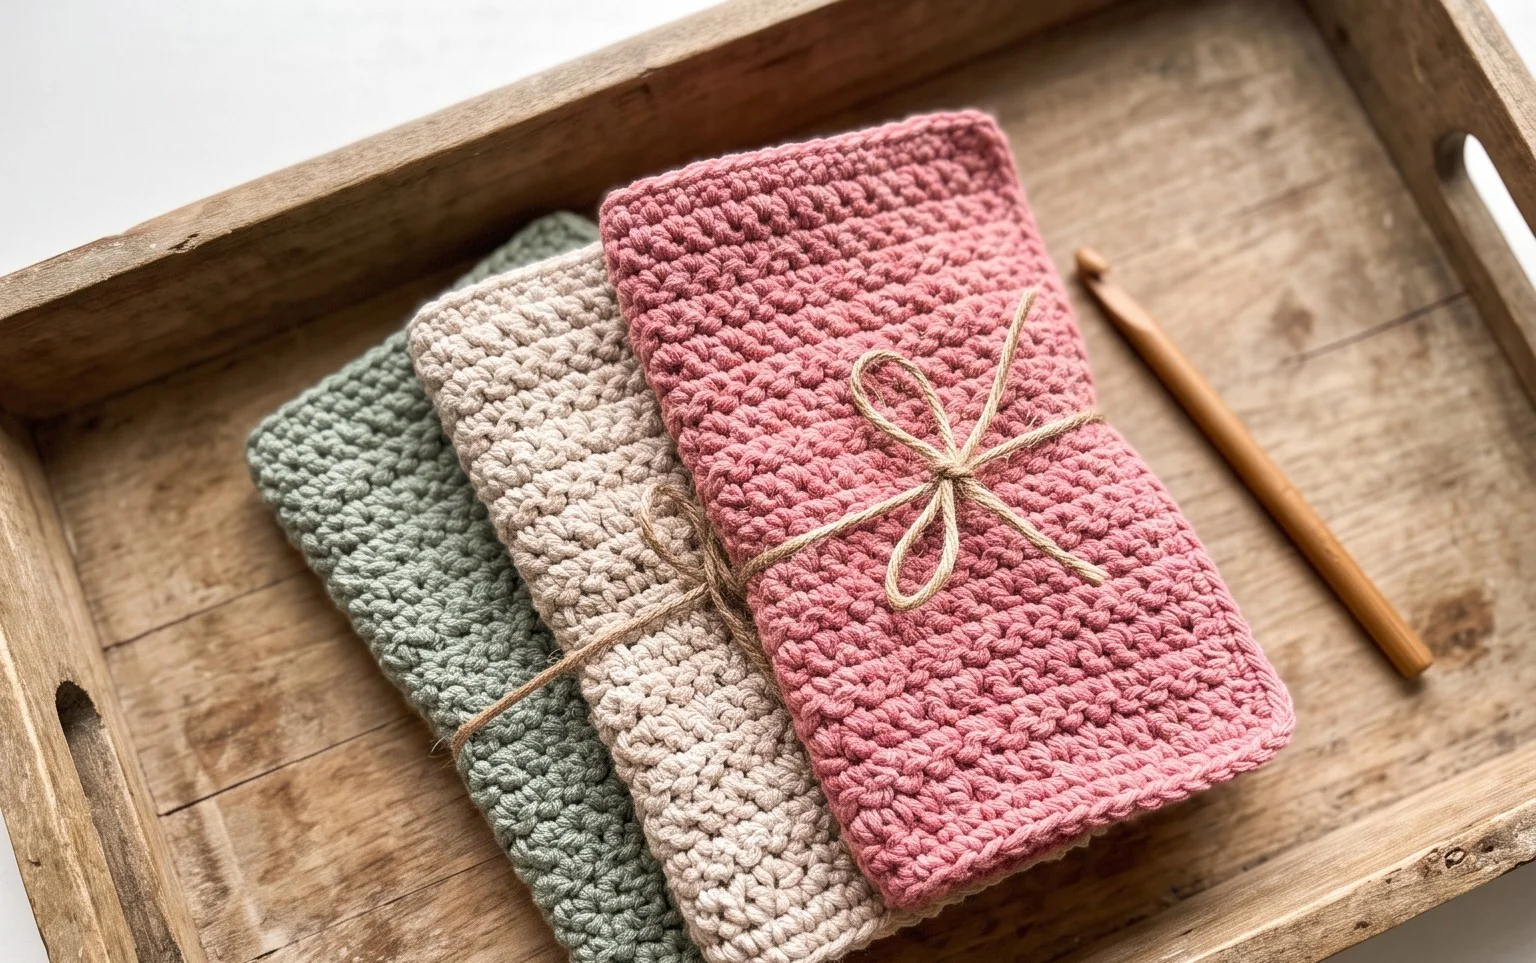
The Classic Crochet Granny Square is the fundamental building block of crochet design. This specific version uses a traditional three-double crochet cluster technique that creates a balanced, square shape without the corners pulling or curling. It works up quickly, making it a perfect project for television watching or travel. Because you can stop after any round, it is the ultimate scrap-yarn project to clear out leftover skeins from your stash. You can join these squares to create blankets, tote bags, or even fitted garments.
I have tried several different methods for granny squares, but this one creates the cleanest corners and the most consistent size. It is now my go-to for scrap yarn afghans.
— Sarah, intermediate crocheter
Pattern Overview & Skill Level
- Skill Level: Beginner
- Approximate Time: 20 to 30 minutes per square
- Construction: Worked in joined rounds, turning after each round to keep the square from twisting
- Finished Dimensions: Approximately 5 inches square using worsted weight yarn and a 5.0 mm hook
Materials & Supplies Needed
- Yarn: Worsted weight (#4) acrylic or wool blend. You need approximately 15 yards per square.
- Hook Size: 5.0 mm (H-8).
- Notions: Tapestry needle for weaving in ends, scissors, and optional locking stitch markers to mark the corners if you are new to the pattern.
- Yarn Substitutions: You can use DK weight yarn with a 4.0 mm hook for a smaller, tighter square, or bulky weight yarn with a 6.0 mm hook for a larger, faster project. Adjusting weight will change the final size of your motif.
Stitch Guide & Abbreviations (US Terms)
- ch = chain
- dc = double crochet
- sl st = slip stitch
- sp = space
- st/sts = stitch/stitches
- Cluster: 3 dc worked into the same chain space or stitch.
- Corner: (dc 3, ch 2, dc 3) worked into a corner chain space.
Step-by-Step Pattern Instructions
Center and First Round
Start with a magic ring or by chaining 4 and joining with a slip stitch to the first chain to form a ring.
Rnd 1: Ch 3 (counts as first dc), work 2 dc into the center ring. Ch 2, *work 3 dc into the center ring, ch 2. Repeat from * 2 more times. Join with a sl st to the top of the beginning ch-3. Turn your work. (12 dc, 4 ch-2 spaces)
Expanding the Square
Rnd 2: Ch 3, work 2 dc into the corner space directly below the chain. Ch 1. In the next corner ch-2 space, work (3 dc, ch 2, 3 dc). Ch 1. Repeat this in each corner space around. When you reach the initial corner, work 3 dc into that same space, ch 2, and join with a sl st to the top of the beginning ch-3. Turn your work. (24 dc, 4 ch-2 corners, 4 ch-1 side spaces)
Rnd 3: Ch 3, work 2 dc into the next ch-1 space. Ch 1. In the corner ch-2 space, work (3 dc, ch 2, 3 dc). Ch 1. Work 3 dc into the next side ch-1 space, ch 1. Continue this pattern, working 3 dc into each side space and the corner sequence (3 dc, ch 2, 3 dc) in each corner. Join with a sl st to the beginning ch-3. Turn your work. (36 dc, 4 ch-2 corners, 8 ch-1 side spaces)
Finishing
To finish, cut your yarn leaving a 6-inch tail. Pull the tail through the final loop and pull tight. Use a tapestry needle to weave the tail back and forth through the back of the double crochet stitches to secure it. Trim any excess yarn flush with the fabric.
Care & Washing Instructions
- Machine wash in cold water on a gentle cycle to prevent felting or fiber distortion.
- Lay the square flat on a clean towel to air dry, shaping it with your hands to ensure the corners remain square.
- Avoid using high-heat tumble drying, as this can melt acrylic fibers or shrink wool blends permanently.
Pro Tips & Common Mistakes to Avoid
- Tension: Keep your chain stitches at the corners slightly loose. Tight chain stitches will cause your square to cup or bowl rather than lay flat.
- Stitch Markers: Use a stitch marker in the corner ch-2 spaces for the first few squares. This helps you identify exactly where the increase happens.
- Weaving Ends: Weave your ends in as you go if you are using multiple colors. Trying to weave in 20 ends at the end of a blanket project is significantly more difficult.
- Size Adjustments: You can continue adding rounds indefinitely to make a larger square. Each additional round adds exactly 12 double crochet stitches to the total count of the previous round.
Frequently Asked Questions
Can I use different colors for each round?
Yes, changing colors every round is a popular way to use up small yarn scraps. Simply join the new color with a slip stitch in any corner space to begin a new round.
What if my square is not perfectly flat?
If your square ripples, your hook size might be too large for the yarn weight. If it pulls inward, your tension is likely too tight. Blocking the finished square by pinning it to a foam mat and misting with water often corrects minor tension issues.
Is this pattern suitable for complete beginners?
This is an ideal first project. It teaches the most common stitch in crochet (the double crochet) and the concept of working into chain spaces rather than individual stitches, which is much easier for beginners to see.
Am I allowed to sell blankets made from this pattern?
You are welcome to sell finished items made from this pattern. Please provide credit to the designer when listing your items online and use your own original photographs for your shop listings.
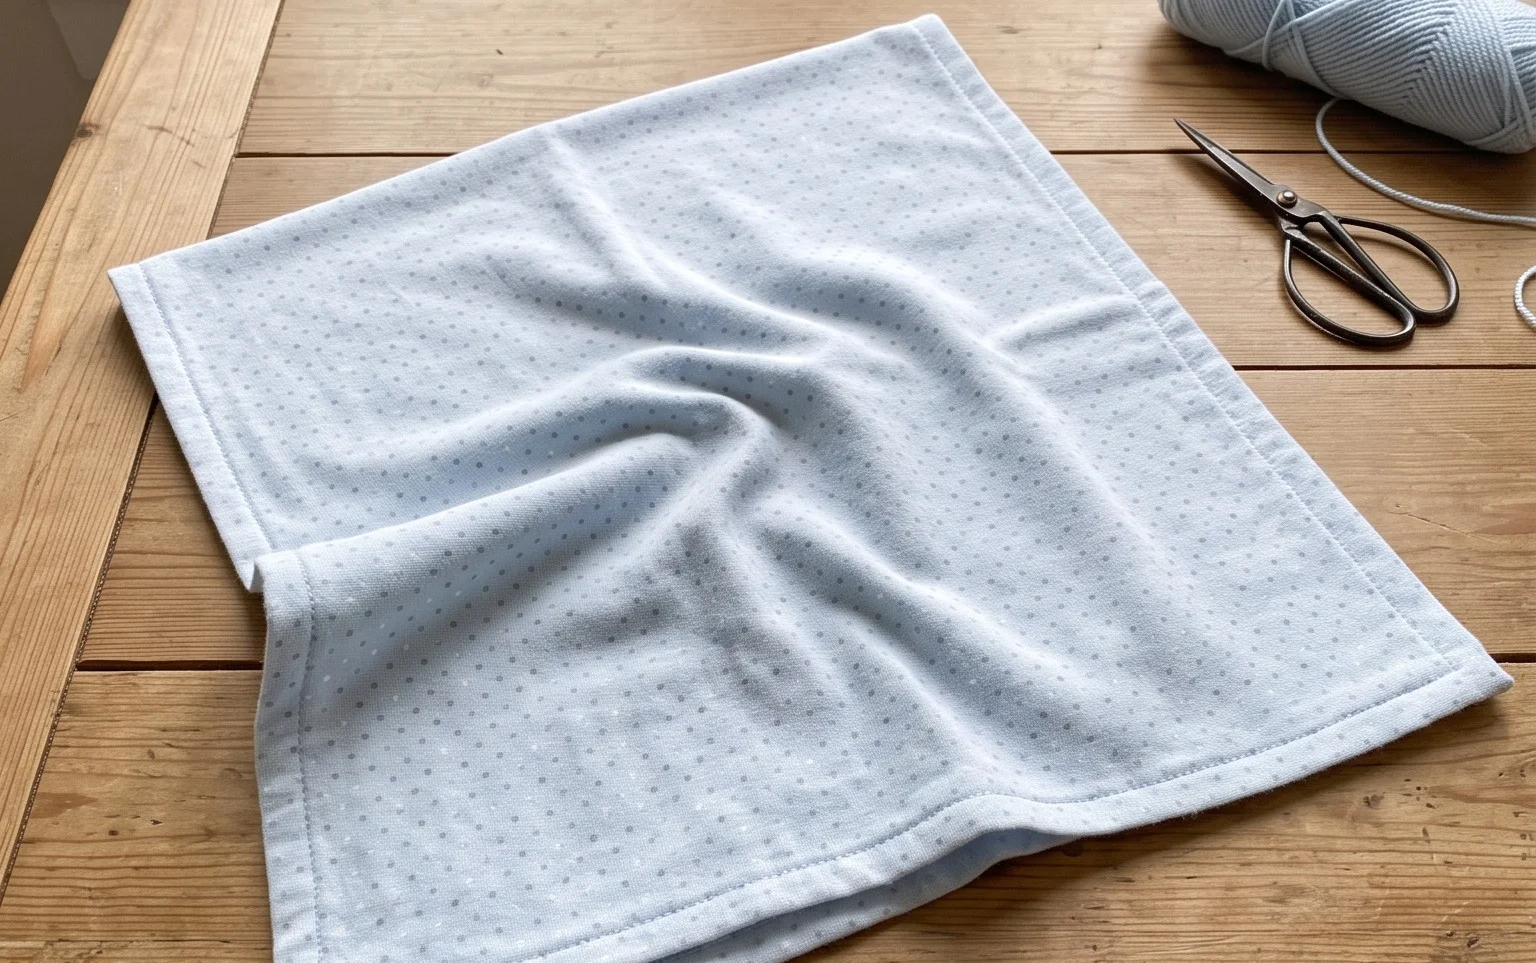
Your handmade blanket offers a soft and warm touch that will last for years as a treasured nursery keepsake. If you want a more modern feel, try using a variegated yarn to create shifting patterns without changing colors. Once you finish your project, share a photo of your progress online so others can see how your color choices turned out. Browse the rest of my site for more simple, beginner-friendly patterns to add to your collection of handmade gifts and home accessories.