Easy Crochet Frog Hat: Beginner-Friendly Free Pattern
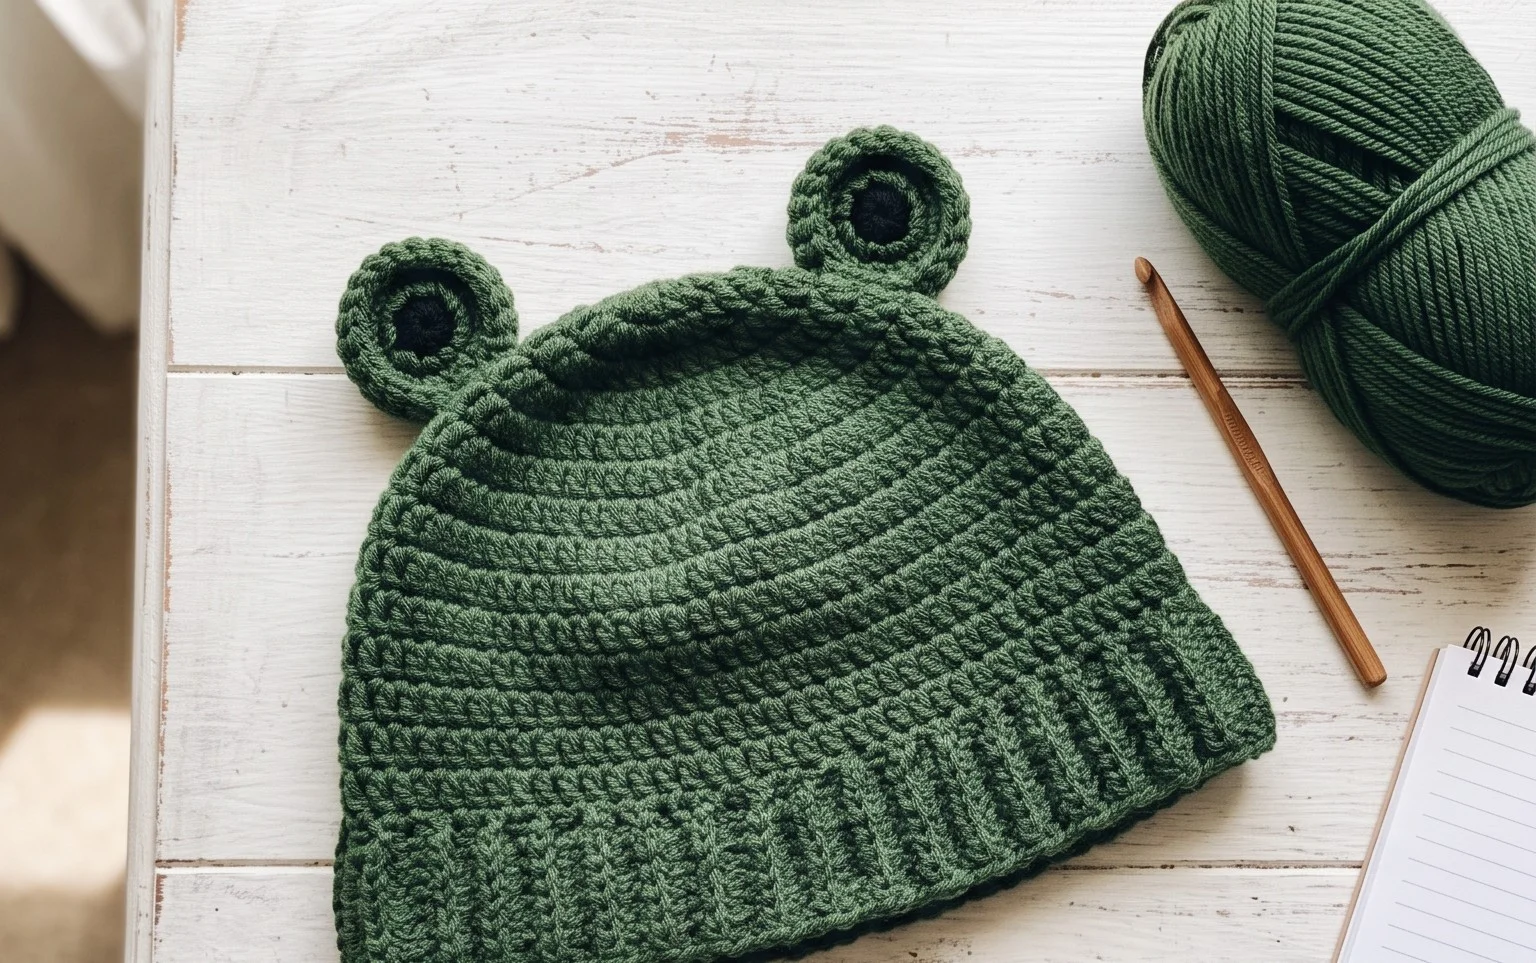
This bright green beanie features large, stuffed eyes that sit snugly on top of the head, giving you a playful look that is hard to miss. You will find that the half-double crochet stitch creates a dense, squishy fabric that keeps your ears warm during crisp morning walks. Whether you are creating a gift for a friend who loves quirky accessories or simply want a weekend project that requires nothing more than basic yarn and a standard hook, this pattern offers a straightforward path to success. You will master the simple construction method of seaming a rectangle to build this cute, character-inspired accessory.
Why You’ll Love This Pattern
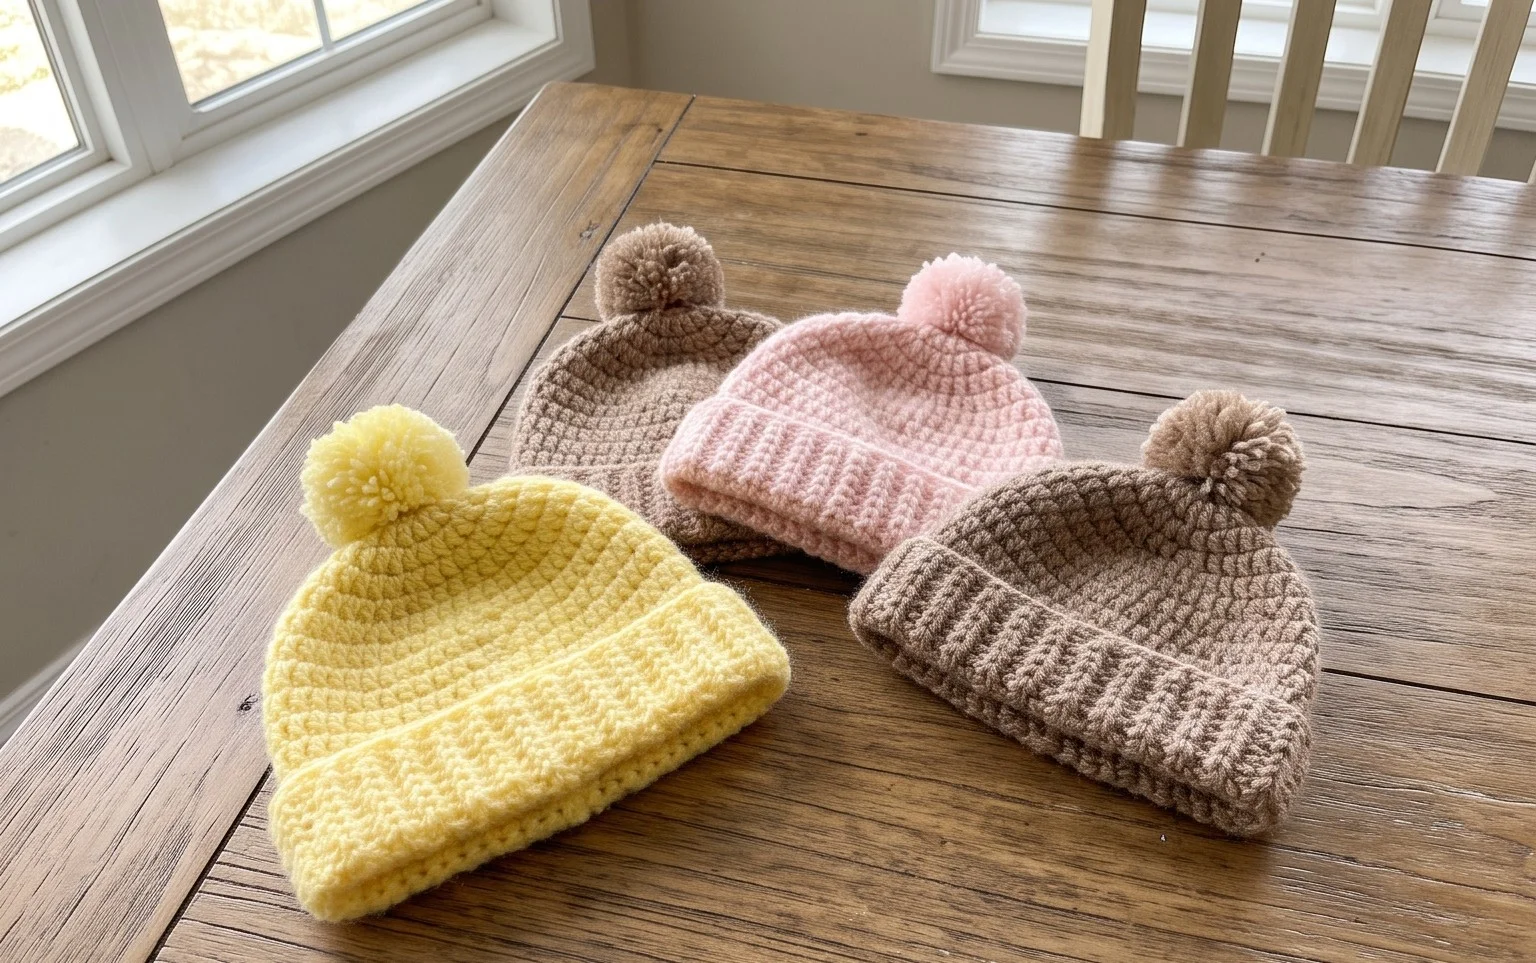
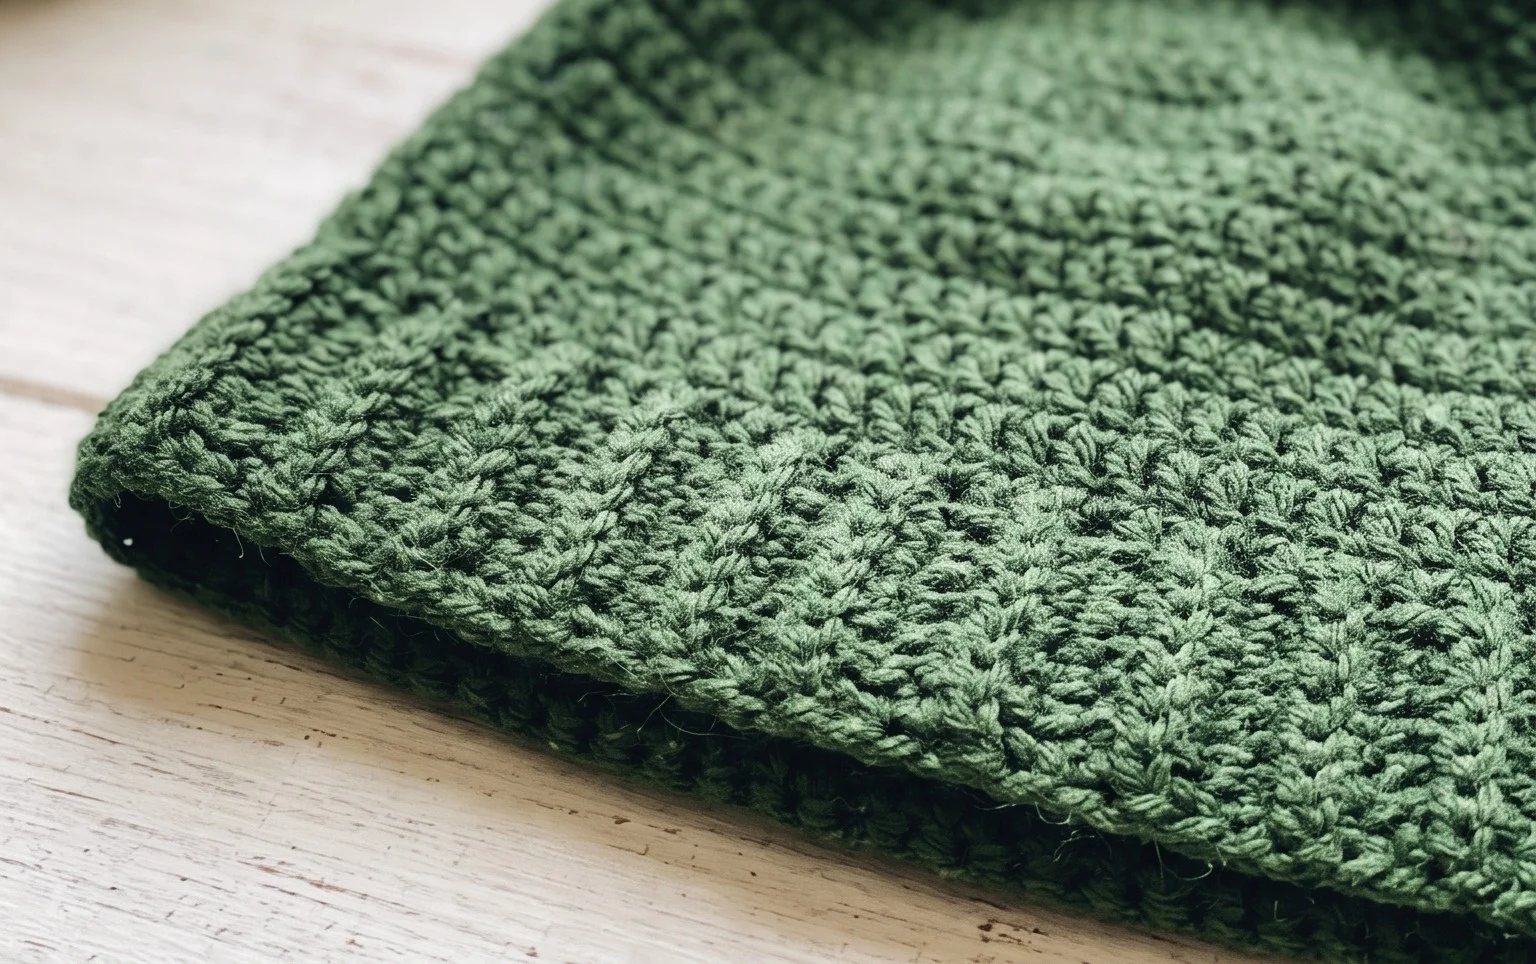
This classic crochet beanie works up quickly using the half-double crochet stitch, which provides a balance between warmth and flexibility. The texture is dense enough to block out the wind on cold days while remaining soft against the forehead. Because the pattern relies on a simple rectangle worked in rows and then seamed, it is an ideal project for those just beginning their journey with garments or accessories. You can complete this hat in a single evening, making it a reliable choice for last-minute handmade gifts.
I managed to finish this beanie in just three hours while watching a movie. The instructions were very easy to follow and the finished hat fits perfectly.
— Sarah, casual crafter
Pattern Overview & Skill Level
- Skill Level: Beginner
- Approximate Time: 3 to 4 hours
- Construction: Worked flat in rows as a rectangle, then seamed to form a tube and cinched at the top.
- Finished Dimensions & Sizing: Adult medium, approximately 20 inches in circumference and 9 inches tall.
Materials & Supplies Needed
- Yarn: Worsted weight (#4), 100% acrylic or wool blend, approximately 200 yards.
- Hook Size: 5.5 mm (US I-9).
- Notions: Tapestry needle for weaving in ends, a pair of sharp scissors, and a measuring tape.
- Safe yarn substitutions: You may use cotton yarn, but note that it lacks the natural stretch of wool or acrylic, which may result in a tighter fit. If using a lighter sport-weight yarn, increase your starting chain length to ensure the correct width.
Stitch Guide & Abbreviations (US Terms)
- ch = chain
- hdc = half double crochet (yarn over, insert hook into stitch, yarn over and pull up a loop, yarn over and pull through all three loops on hook)
- BLO = back loop only (insert hook only through the back strand of the stitch)
- st(s) = stitch(es)
- sl st = slip stitch
- FO = fasten off
Step-by-Step Pattern Instructions
Hat Body
The hat is worked back and forth in rows. By working into the back loop only, you create a ribbed effect that gives the fabric natural elasticity.
- Row 1: Ch 40. Hdc in the third ch from the hook and in each ch across. (38 sts)
- Row 2: Ch 2, turn. Hdc in BLO of each st across to the end. (38 sts)
- Rows 3-60: Repeat Row 2 until the piece measures approximately 20 inches wide when stretched slightly.
- Finishing the body: Do not FO. Fold the rectangle in half, matching the short ends together. Sl st through both the foundation chain edge and the current row to seam the tube closed.
Crown and Assembly
Once your tube is seamed, you must close one end to create the crown of the hat.
- Leave a 12-inch tail of yarn after the final slip stitch and cut the yarn.
- Thread your tapestry needle with the tail.
- Weave the needle in and out through every other row along the top edge of the tube.
- Pull the yarn tail tight to cinch the top of the hat closed like a drawstring.
- Secure the opening with a few tight stitches through the center, then turn the hat inside out to knot the yarn tail securely.
- Weave in all remaining ends.
Care & Washing Instructions
- Machine wash the finished hat in cool water on a gentle cycle to preserve the fiber structure.
- Always dry the item flat on a clean towel to prevent the weight of water from stretching the fabric out of shape.
- Avoid using a hot iron or steam, as this can flatten the stitches and reduce the natural elasticity of the garment.
Pro Tips & Common Mistakes to Avoid
Maintain consistent tension throughout the project by keeping your yarn tension steady with your non-dominant hand; variations in tension will cause the rectangle to be uneven at the edges. Use a stitch marker on your very first row to help you identify the final stitch of each row, which prevents accidentally dropping stitches. Weave your ends in by moving the needle through the base of the stitches in two different directions, which prevents the yarn from working its way out over time. If you wish to adjust the size, add or subtract chains in multiples of two; adding length will increase the hat height, while adding width increases the circumference.
Frequently Asked Questions
Can I use a larger hook for this pattern?
Using a larger hook will result in a more open, airy fabric and a larger finished hat. If you choose a larger hook, check your gauge to ensure the hat doesn’t become too loose.
Is this pattern suitable for complete beginners?
Yes, this is an excellent choice for a first project. It teaches the half double crochet stitch and simple seaming techniques without requiring complex counting or shaping.
Can I sell the hats I make from this pattern?
Yes, you are welcome to sell finished items made from this pattern. Please credit the design to this tutorial when listing your products online.
How do I adjust the hat to fit a child?
To make the hat smaller, reduce the starting chain count. Aim for a total length that is roughly 2 inches shorter than the intended wearer’s head circumference.
Your new handmade headwear is ready to wear as soon as you sew those eyes securely into place. Consider switching to a chunky weight yarn if you want a slouchier fit or experiment with different shades of lime and emerald to customize your frog. Seeing your progress is the best part, so please post a photo of your finished work on social media so others can see your color choices. I keep adding more free patterns to the blog every month, so return soon to find your next project.