Easy Monkey Hat Free Crochet Pattern: Step-by-Step Guide
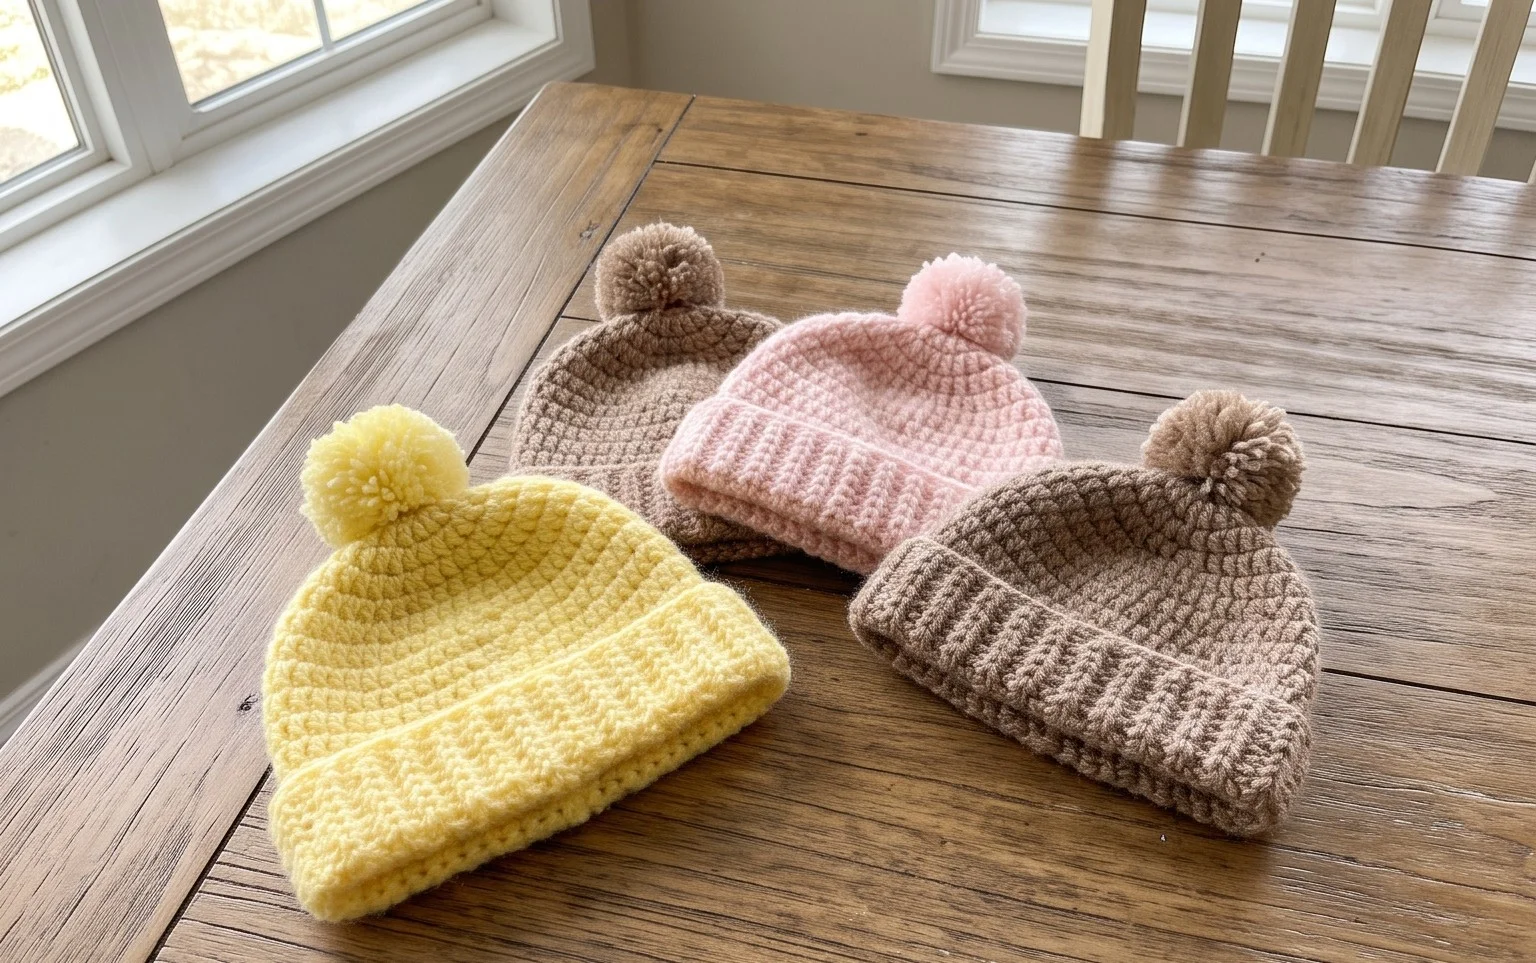
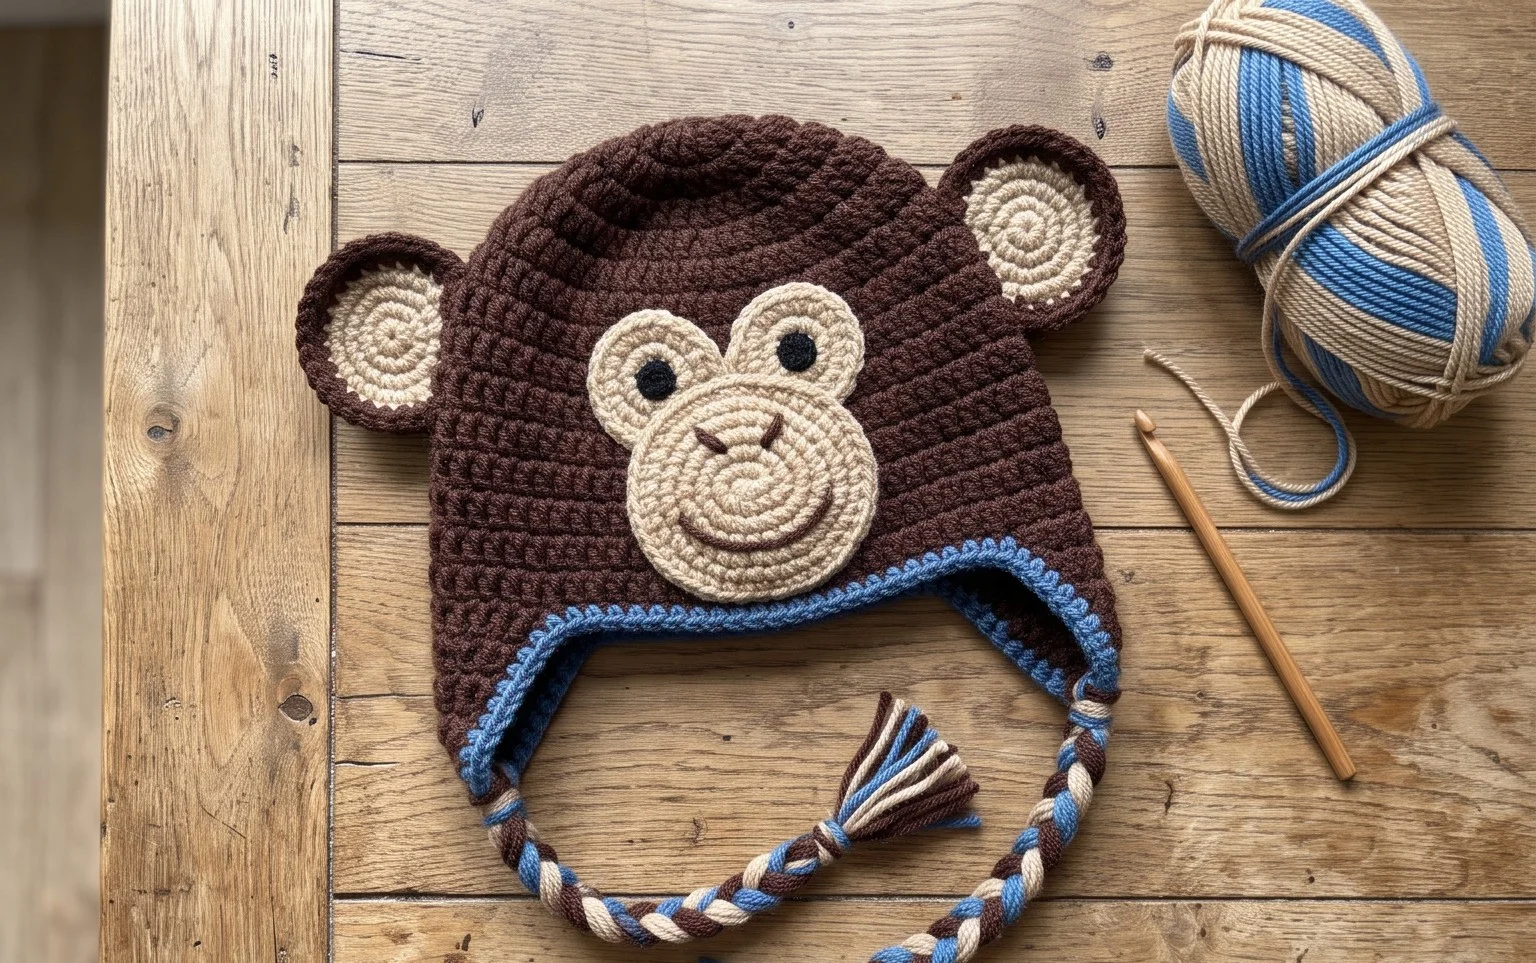
Soft cotton yarn forms the base of these playful primate headpieces that fit comfortably on toddlers and dolls alike. You will love how the rounded ears provide a whimsical silhouette that stands up on its own without needing wire or plastic inserts. This project acts as a relaxing escape for anyone who enjoys steady, rhythmic stitches while watching a show or sitting on the porch. Beginners will gain confidence by practicing simple increases that build the cap shape from the crown down. Expect a rewarding process that transforms a small ball of yarn into a unique gift within a single afternoon.
Why Crocheters Love It
This beginner-friendly project works up in under two hours, making it an ideal choice for last-minute handmade gifting. Because it uses less than 50 yards of medium-weight yarn, it serves as a practical way to use up those leftover balls sitting in your craft basket. The construction relies on simple single crochet stitches worked in a continuous spiral, which removes the need for visible seams or complex joining techniques. It is a satisfying, meditative project that helps you master the basic amigurumi technique of increasing and decreasing while keeping a consistent tension.
I finished this pattern in one sitting. The instructions were easy to follow and my finished project looks exactly like the photos.
— Sarah, amigurumi hobbyist
Pattern Overview & Skill Level
- Skill Level: Beginner
- Approximate Time: 1.5 to 2 hours
- Construction: Continuous rounds worked in a spiral, finished with stuffing and simple shaping
- Finished Dimensions: 4 inches tall by 3 inches wide
Materials & Supplies Needed
- Yarn: Worsted weight (#4), 100% cotton yarn, approx. 40 yards. Cotton provides the stitch definition necessary to hide stuffing.
- Hook Size: 3.5 mm (US E-4). Using a smaller hook than recommended on the yarn label prevents the stuffing from poking through the gaps.
- Notions: Polyester fiberfill stuffing, stitch markers to track the start of rounds, tapestry needle for weaving ends, and 6mm safety eyes.
- Yarn Substitutions: You can use acrylic yarn, but the finished piece will be softer and slightly larger. If you switch to wool, ensure it is machine-washable if you intend to gift it to a child.
Stitch Guide & Abbreviations (US Terms)
- MR: Magic ring
- ch: chain
- sc: single crochet
- inc: 2 sc in the same stitch (increase)
- dec: sc2tog (single crochet two stitches together to decrease)
- sl st: slip stitch
- st/sts: stitch/stitches
- BLO: back loop only (used to create a defined edge or base)
Step-by-Step Pattern Instructions
Body
- Rnd 1: Start 6 sc in a MR (6 sts).
- Rnd 2: 2 sc in each st around (12 sts).
- Rnd 3: [1 sc, inc] repeat 6 times (18 sts).
- Rnd 4: [2 sc, inc] repeat 6 times (24 sts).
- Rnd 5-10: Sc in each st around (24 sts).
- Rnd 11: [2 sc, dec] repeat 6 times (18 sts).
- Rnd 12: [1 sc, dec] repeat 6 times (12 sts). Add fiberfill stuffing firmly at this stage.
- Rnd 13: Dec 6 times (6 sts).
Finishing
Cut the yarn, leaving a 6-inch tail. Thread the tail onto a tapestry needle and weave it through the front loops of the remaining 6 stitches. Pull the tail tight to close the opening completely. Secure the knot by pulling the yarn through the center of the body and clipping the excess thread close to the surface so it retracts inside the piece.
Care & Washing Instructions
- Hand wash in cool water using a gentle detergent specifically designed for delicate fibers.
- Lay the piece flat on a clean towel to air dry, turning it over once after several hours to ensure the center dries completely.
- If the item becomes squashed, gently massage the stuffing between your fingers to reshape it.
Pro Tips & Common Mistakes to Avoid
Maintain tight tension throughout the project to ensure the stuffing does not show. If your stitches look loose, try moving down a hook size. Always place a stitch marker in the first stitch of every round; since you are working in a continuous spiral, it is easy to lose track of where your rounds begin and end. Weave your yarn ends into the interior of the piece rather than the exterior to maintain a clean finish. You can adjust the overall size of the item by adding or removing rows between Rnd 5 and Rnd 10, but note that this will require more or less yarn respectively.
Frequently Asked Questions
Can I use a larger hook for this pattern?
Using a larger hook will result in larger gaps between your stitches. This will make the fiberfill stuffing visible, which often ruins the professional appearance of the finished toy. Always use a hook smaller than what is recommended on your yarn label for amigurumi.
How do I make the toy larger?
To increase the size, you must work more increase rounds at the beginning. If you decide to make the piece wider, you must keep the math consistent, meaning each round adds exactly 6 stitches. Be aware that larger items require significantly more stuffing and yarn.
Is this project suitable for absolute beginners?
Yes, this project is ideal for someone learning to crochet. It only requires the single crochet stitch and the ability to work in rounds. If you can master the magic ring, the rest of the pattern follows a simple repetitive count.
Am I allowed to sell the finished items?
You are welcome to sell items made from this pattern, provided you credit the designer in your shop listing. Always check the specific copyright terms associated with the original pattern source before listing products for commercial sale.
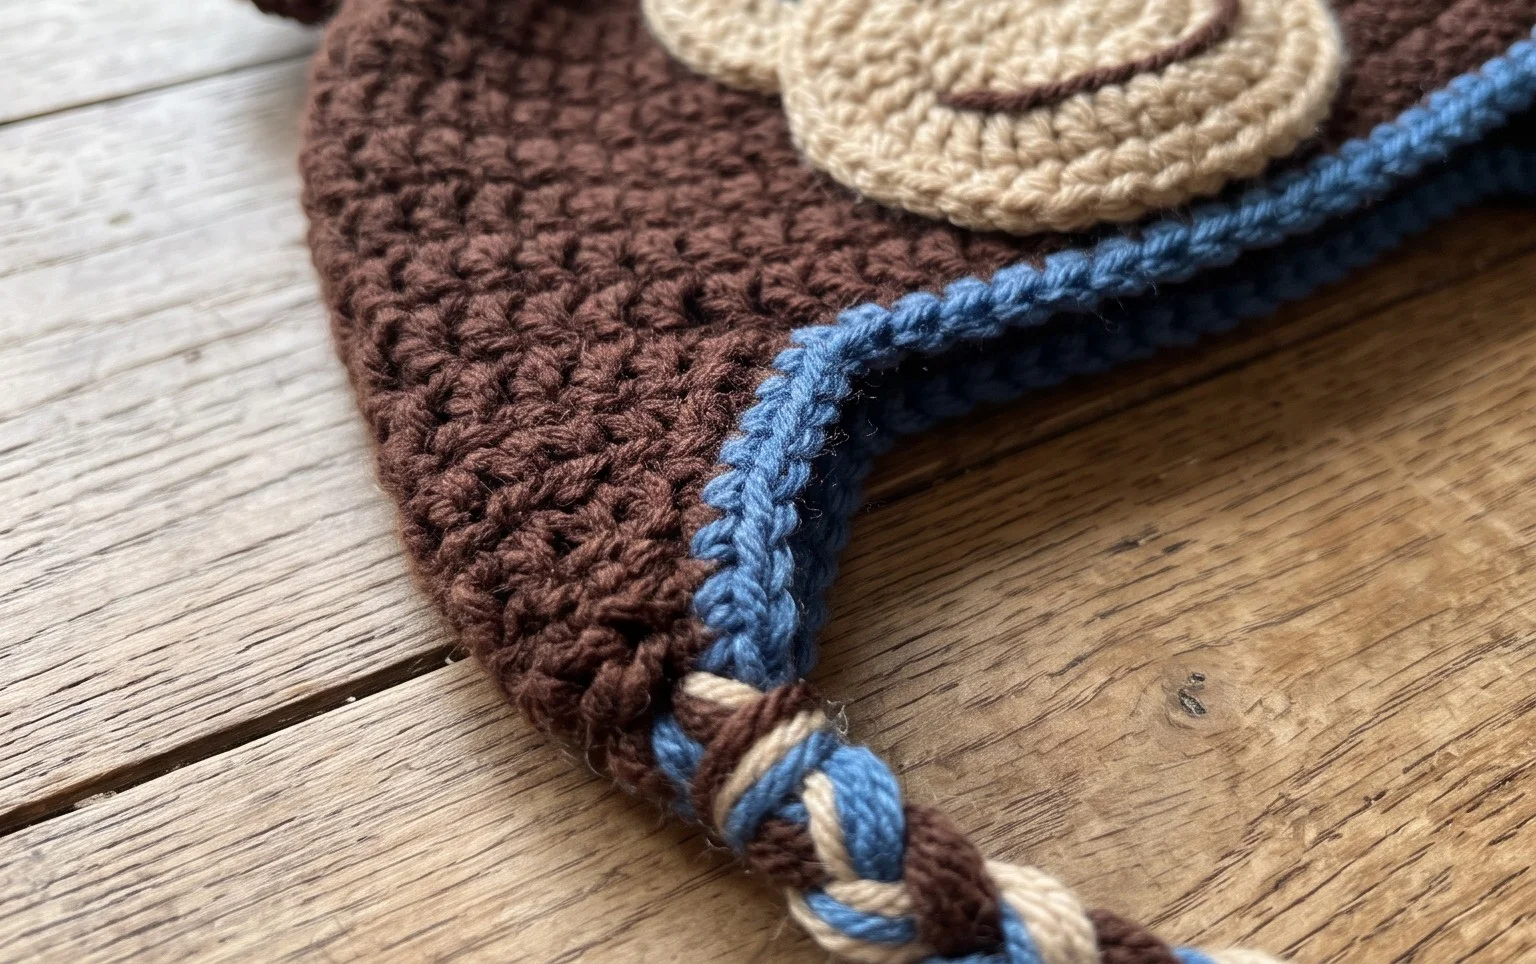
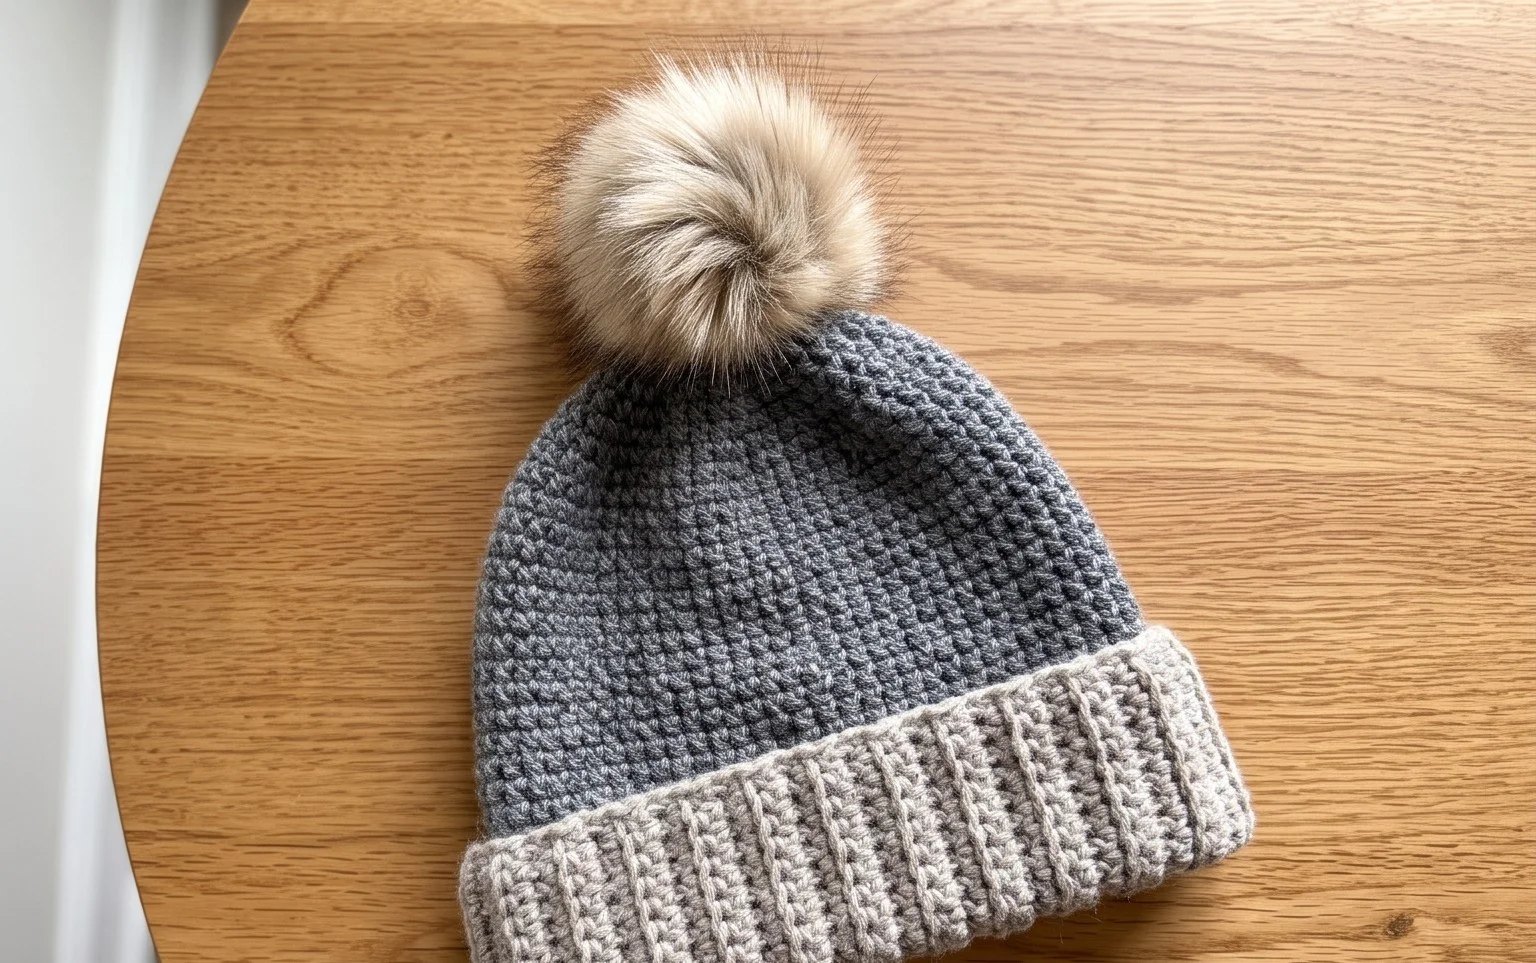
Seeing your finished cap with its cute ears and expressive face is the best reward for an afternoon of work. You might try swapping the brown cotton for a heathered grey wool blend to give your project a completely different texture for the winter months. Sharing a photo of your work on Instagram helps other makers find inspiration for their own yarn stash projects. Please check the archives on my blog if you want to browse more headwear designs for your next handmade weekend project.