Crochet 3D Marshmallow Stitch Guide: Easy Free Pattern
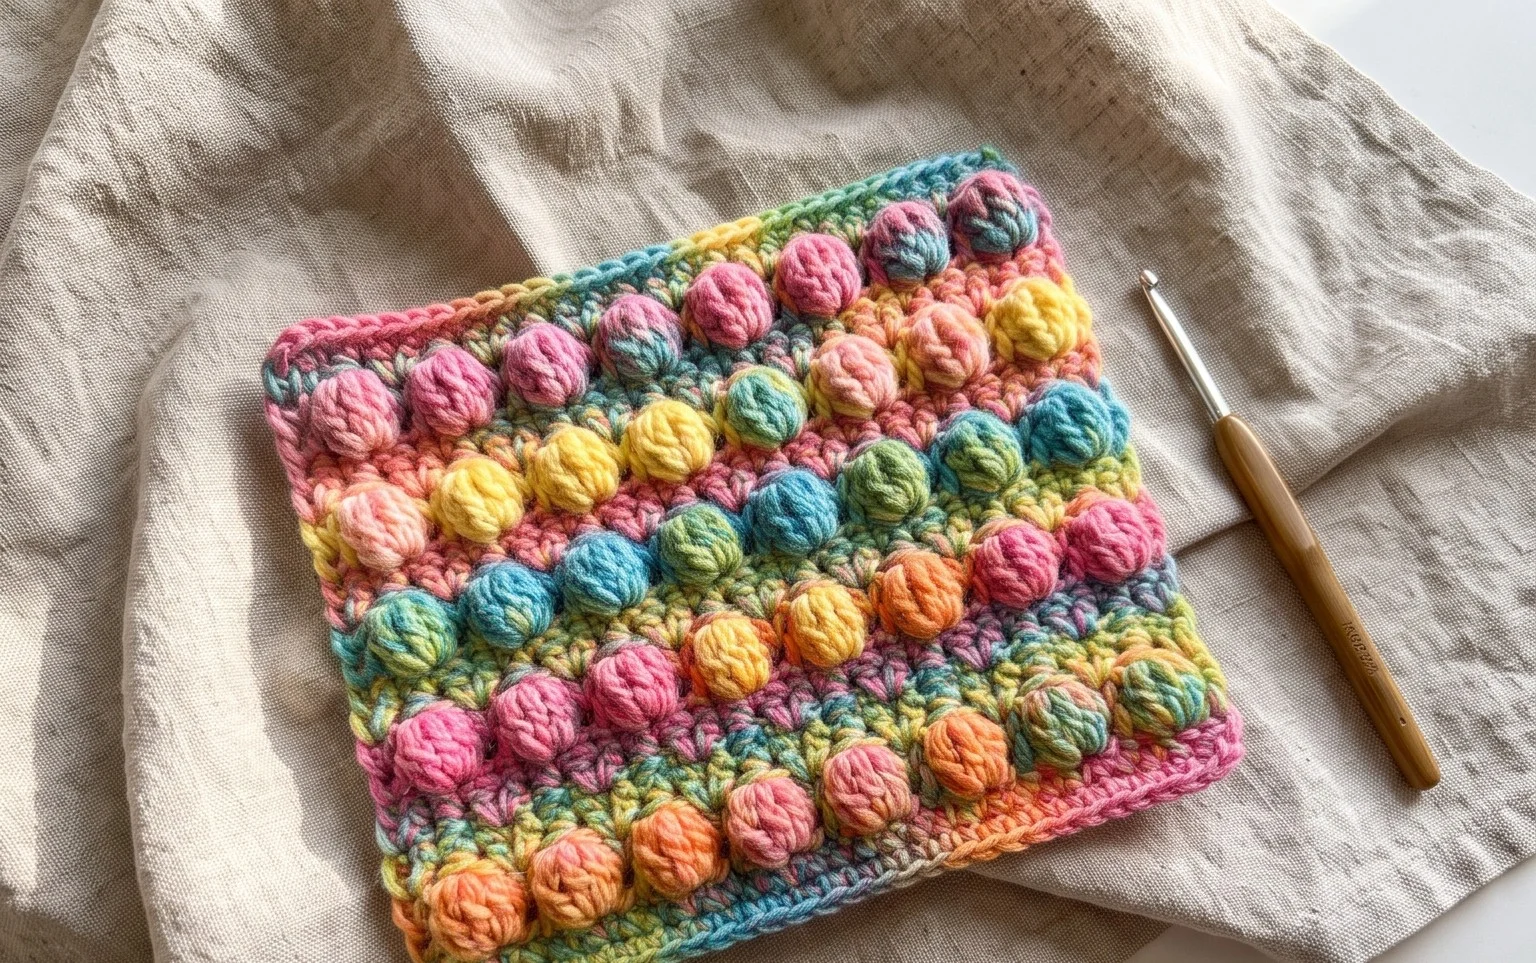
The plush, bubbly surface of the 3D marshmallow stitch creates a fabric so soft and squishy that it feels like actual candy against your skin. This repetitive, calming motion is a joy for anyone who loves losing themselves in a hook-and-yarn rhythm for an afternoon of peaceful crafting. The finished items offer a dense, satisfying weight that works beautifully for warm winter blankets, decorative throw pillows, or even chunky winter cowls. You will master the specific combination of front-post stitches and color changes required to build these rounded, pillowy shapes. It is a rewarding project for makers who want to build their skills while creating items with significant, tactile personality.
Why You’ll Love This Pattern
This crochet ribbed beanie pattern uses a simple rectangular construction that eliminates the need for complex increases or decreases. Because it is worked in rows, it creates a clean, stretchy fabric that mimics high-end machine-knit headwear. You will enjoy the rhythmic nature of the back-loop single crochet stitch, which makes this an ideal project for practicing your tension while watching television or listening to podcasts. The finished hat is dense and warm, providing excellent wind protection for cold autumn and winter days.
I managed to finish this hat in a single weekend. The texture is soft, and it fits perfectly without being too tight around the forehead.
— Sarah, beginner crocheter
Pattern Overview & Skill Level
- Skill Level: Beginner
- Approximate Time: 3 to 4 hours
- Construction: Flat rectangle worked in rows and seamed into a tube
- Finished Dimensions & Sizing: 18 inches circumference (unstretched), 9 inches height (adjustable)
Materials & Supplies Needed
- Yarn: Worsted #4 weight, 100% acrylic or wool blend, approximately 220 yards.
- Hook Size: 5.0 mm (H-8).
- Notions: Tapestry needle for seaming, scissors, locking stitch marker for identifying the starting row.
- Safe yarn substitutions: You may use a light-weight bulky #5 yarn for a chunkier texture, though this will require fewer foundation chains to reach the desired height. If using cotton, expect the fabric to be heavier and less elastic than wool or acrylic.
Stitch Guide & Abbreviations (US Terms)
- ch: chain
- sc: single crochet
- st/sts: stitch/stitches
- BLO: back loop only (insert hook under the back loop of the V-shape stitch to create a ribbed effect)
- sl st: slip stitch
- turn: turn your work to begin the next row
Step-by-Step Pattern Instructions
Main Body Panel
- Row 1: Ch 45. Sc in the second ch from hook and each ch across. (44 sts).
- Row 2: Ch 1, turn. Sc in BLO of each st across. (44 sts).
- Rows 3-60: Repeat Row 2 until the piece measures 18 inches in length when laid flat. Ensure the piece is long enough to wrap comfortably around your head.
- Fastening Off: Leave a long tail, approximately 20 inches, for seaming. Cut yarn and pull through the final loop.
Assembly and Finishing
Fold your rectangle in half so that the short ends meet. Using your tapestry needle and the long tail, sew the two ends together using a whip stitch or mattress stitch. Be careful to match up the ridges of the ribbing as you sew. Once the seam is secure, tie a knot to anchor it. Turn the tube inside out so the seam is on the inside. Thread your needle with a spare piece of yarn and weave it in and out along the top edge of the tube. Pull the yarn tight to cinch the top closed, effectively gathering the fabric into a circle. Knot the top firmly and weave in all remaining ends.
Care & Washing Instructions
- Machine wash on a gentle cycle in cool water (30°C/86°F) inside a mesh laundry bag to prevent snagging.
- Lay the hat flat on a towel to air dry, reshaping it while damp to ensure the ribbing remains even.
- Avoid using high heat in a tumble dryer, as this can melt acrylic fibers or shrink natural wool.
Pro Tips & Common Mistakes to Avoid
Maintaining consistent tension is vital for this pattern; if your stitches are too tight, the hat will be stiff and uncomfortable to wear. Always use a stitch marker on your first row to help keep track of your starting chain count, as it is easy to accidentally drop a stitch at the end of a row. When weaving in your ends, go back and forth through the stitches at least three times in different directions to ensure the seam does not pull apart over time. You can easily adjust the size of the hat by changing the number of initial chains; adding more chains makes the hat taller, while adding more rows makes the circumference larger.
Frequently Asked Questions
Can I use a different yarn weight for this pattern?
Yes, but you will need to adjust the number of starting chains. If you use a thinner yarn, increase your starting chain count to reach the desired height. For thicker yarns, decrease your starting chain count to avoid an overly bulky hat.
How do I know if the hat is the right size?
Wrap the unfinished rectangle around your head before seaming. It should fit snugly against your forehead without feeling like it is cutting off circulation. The ribbed stitch has natural elasticity, so it will stretch slightly over time.
Is this pattern suitable for complete beginners?
Absolutely. This pattern requires knowledge of only the foundation chain and the single crochet stitch. The back loop only technique is straightforward once you identify the anatomy of the stitch.
Can I sell the hats I make from this pattern?
Please check my website’s policy page for the most current information. Generally, I permit the sale of small-batch finished items if you credit the design, but I do not allow the distribution or sale of the written pattern itself.
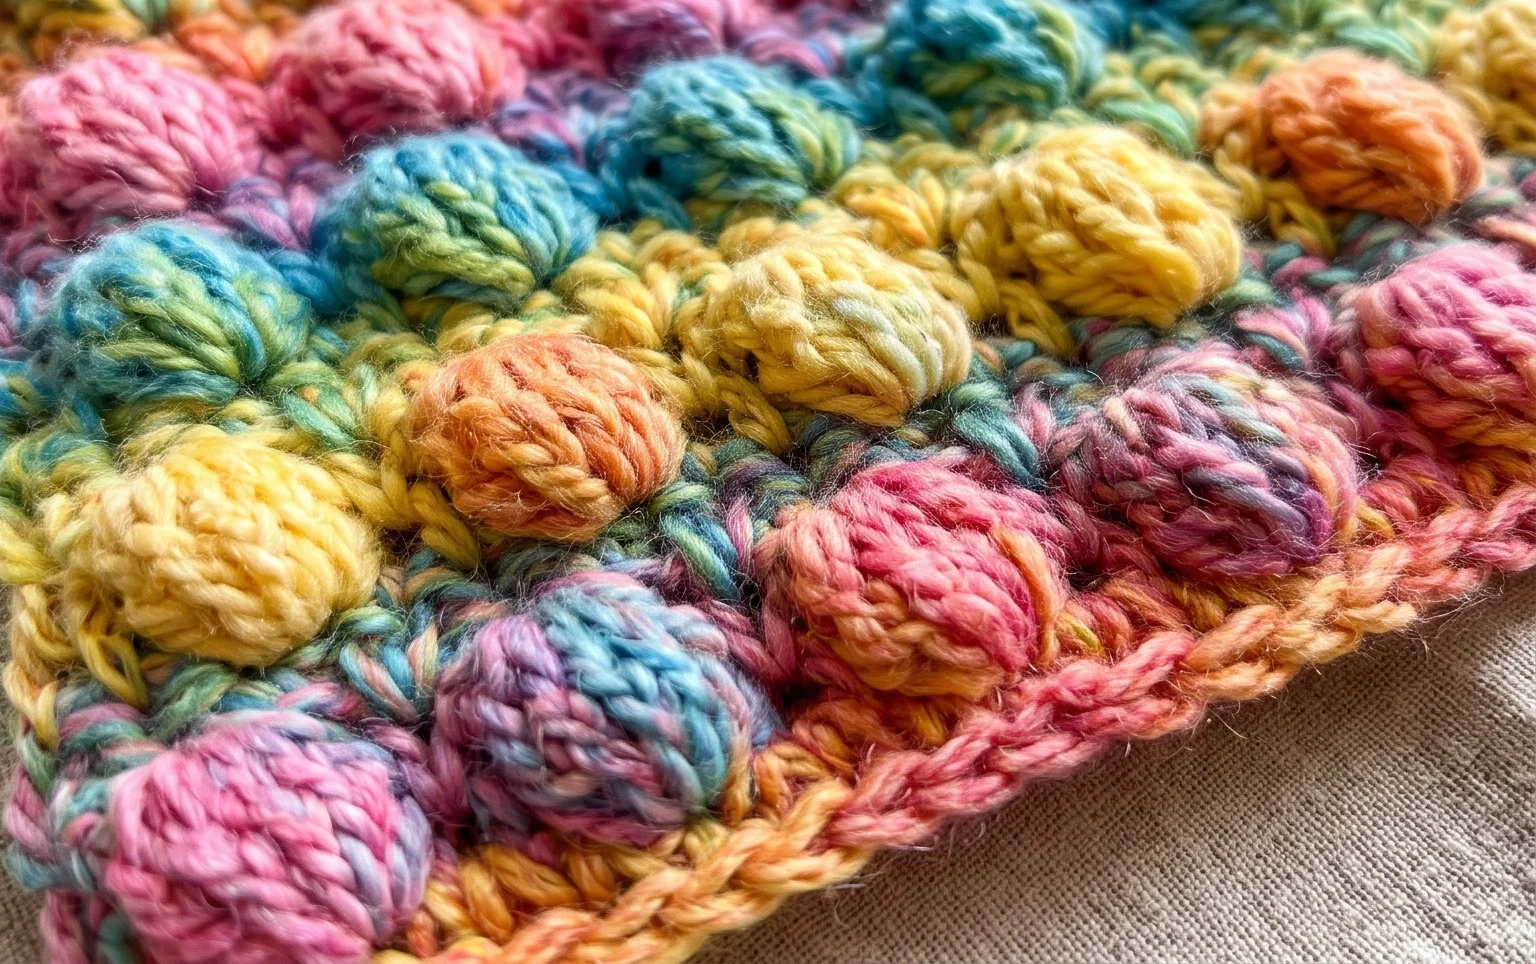
Your new textured creation brings a cozy, handmade touch to any living space or wardrobe with its delightful pillowy surface. You can experiment with gradient yarn to make the bumps pop even more or switch to a solid bright color for a modern nursery look. Sharing a photo of your finished work on Pinterest or Instagram helps other makers find inspiration for their own projects. Please browse the rest of the blog for more free patterns to build your collection of handmade goods throughout the seasons.