Winter Crochet Garlands: Free Beginner Patterns to Make
Soft strands of yarn draped across a mantelpiece or wound through evergreen branches bring a cozy, handmade warmth to any room during the coldest months. These decorative items feel light and tactile, using simple stitches that grow quickly in your hands. Beginners often find these projects rewarding because they allow for immediate progress without complex shaping or daunting assembly. You will master the basic chain and double crochet techniques while practicing consistent tension, which helps keep each motif uniform. Focusing on these small, repetitive elements creates a rhythmic flow that makes crafting in the evening hours feel truly restorative.
Why You’ll Love This Pattern
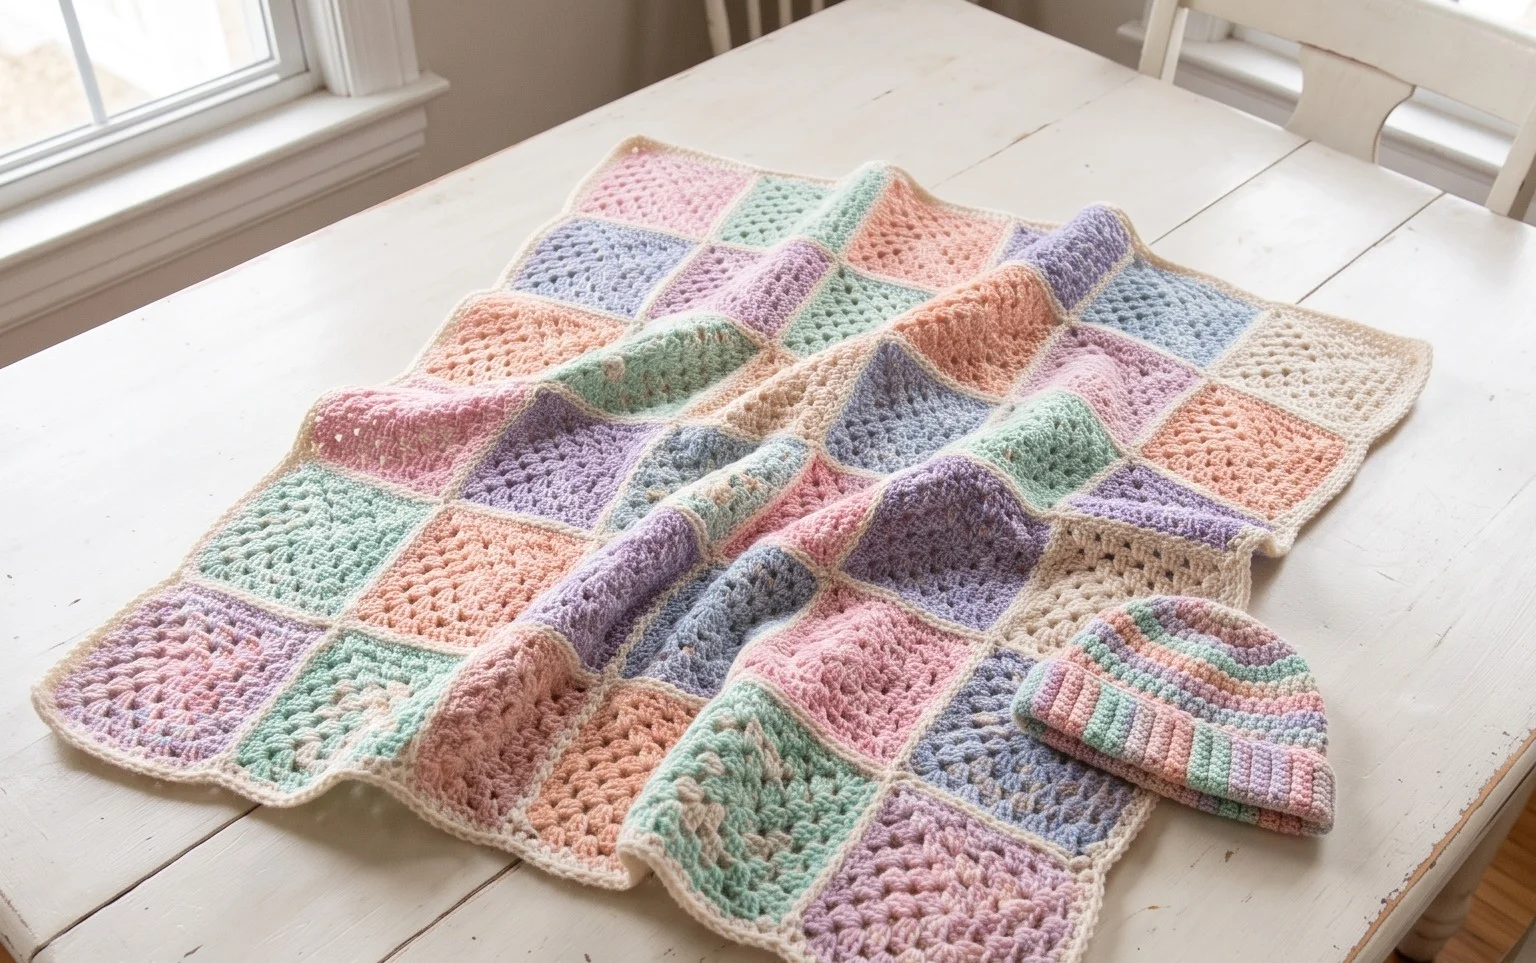
The Classic Crochet Granny Square is the foundation of countless heirloom projects, from blankets to tote bags. This pattern relies on a simple, repetitive four-round sequence that creates a perfectly balanced square with minimal ends to weave in. Because it uses double crochet clusters separated by chain spaces, the fabric grows quickly, making it an ideal choice for using up small amounts of leftover yarn. The modular nature of this design allows you to adjust the size of your project easily by simply adding more rounds or joining multiple squares together.
I struggled with tension until I tried this specific granny square pattern. The clear instructions helped me finally understand how to keep my corners sharp and my edges straight.
— Sarah, beginner crocheter
Pattern Overview & Skill Level
- Skill Level: Beginner
- Approximate Time: 30–45 minutes per square
- Construction: Worked in joined rounds, starting from the center and expanding outward
- Finished Dimensions: Approximately 6 inches by 6 inches using worsted weight yarn
Materials & Supplies Needed
- Yarn: Worsted #4 weight, acrylic or wool blend, approximately 20–25 yards per square
- Hook Size: 5.0 mm / H-8
- Notions: Tapestry needle for weaving in ends, scissors, and optional stitch markers
- Safe yarn substitutions: You can use DK weight yarn with a 4.0 mm hook for a smaller, denser square or bulky weight yarn with a 6.0 mm hook for a larger, quicker square. Note that gauge changes will affect the total yardage required.
Stitch Guide & Abbreviations (US Terms)
- ch = chain
- st = stitch
- sl st = slip stitch
- dc = double crochet
- dc cluster = 3 dc worked into the same space
- sp = space
- rnd = round
- MR = magic ring (or alternatively ch 4 and sl st to first ch to form a ring)
Step-by-Step Pattern Instructions
This pattern is worked in the round with a join at the end of each round to ensure the square remains symmetrical.
- Rnd 1: Start with a MR. Ch 3 (counts as first dc), work 2 dc into the ring, ch 2, *3 dc into the ring, ch 2; repeat from * two more times. Join with a sl st to the top of the beginning ch-3. (12 dc, 4 ch-2 spaces)
- Rnd 2: Sl st into the next dc and into the corner ch-2 sp. Ch 3, 2 dc in same corner sp, ch 2, 3 dc in same corner sp. *Ch 1, skip 3 dc, (3 dc, ch 2, 3 dc) in the next ch-2 corner sp; repeat from * two more times. Ch 1, join with a sl st to the top of the beginning ch-3. (24 dc, 4 corner ch-2 spaces, 4 ch-1 side spaces)
- Rnd 3: Sl st into the next dc and into the corner ch-2 sp. Ch 3, 2 dc in same corner sp, ch 2, 3 dc in same corner sp. *Ch 1, 3 dc in next ch-1 sp, ch 1, (3 dc, ch 2, 3 dc) in next corner sp; repeat from * two more times. Ch 1, 3 dc in last ch-1 sp, ch 1, join with a sl st to the top of the beginning ch-3. (36 dc, 4 corner ch-2 spaces, 8 ch-1 side spaces)
- Rnd 4: Sl st into the next dc and into the corner ch-2 sp. Ch 3, 2 dc in same corner sp, ch 2, 3 dc in same corner sp. *Ch 1, (3 dc in next ch-1 sp, ch 1) across to the corner, (3 dc, ch 2, 3 dc) in next corner sp; repeat from * two more times. Ch 1, 3 dc in final ch-1 sp, ch 1, join with a sl st to the top of the beginning ch-3. Fasten off. (48 dc, 4 corner ch-2 spaces, 12 ch-1 side spaces)
Care & Washing Instructions
- Hand wash your finished item in cool water using a mild wool wash or gentle detergent.
- Lay the piece flat on a towel, reshaping it into a perfect square, and let it air dry away from direct sunlight.
- Avoid using a tumble dryer, as heat can shrink natural fibers and distort the shape of the crochet stitches.
Pro Tips & Common Mistakes to Avoid
Maintain consistent tension by holding your yarn with a steady grip, especially during the corner clusters. Using a stitch marker to identify the top of the starting ch-3 will help you find the correct spot to join your rounds at the end of every row. Weave in your ends securely by passing the yarn through the back loops of the previous round for at least one inch to prevent unraveling. If you wish to make your square larger, continue the pattern established in Rnd 4, adding one more 3-dc cluster group for every additional ch-1 space encountered on the sides.
Frequently Asked Questions
Can I use a different weight of yarn for this pattern?
Yes, you can substitute the yarn weight, but be aware that it will significantly change the final size of the square. Always adjust your hook size to match the recommended size on your new yarn label to maintain proper tension.
Is this project suitable for a complete beginner?
This is an excellent first project. It covers the most essential skills: working in the round, joining rounds, and executing basic stitches like the chain and double crochet.
How do I change colors between rounds?
To change colors, fasten off your yarn at the end of a round and join the new color with a slip stitch in any corner space before beginning your next round.
Can I sell the squares I make using this pattern?
You are welcome to sell finished items made from this pattern, provided you credit the design. Please review the specific terms on the original designer’s website regarding mass production or pattern distribution.
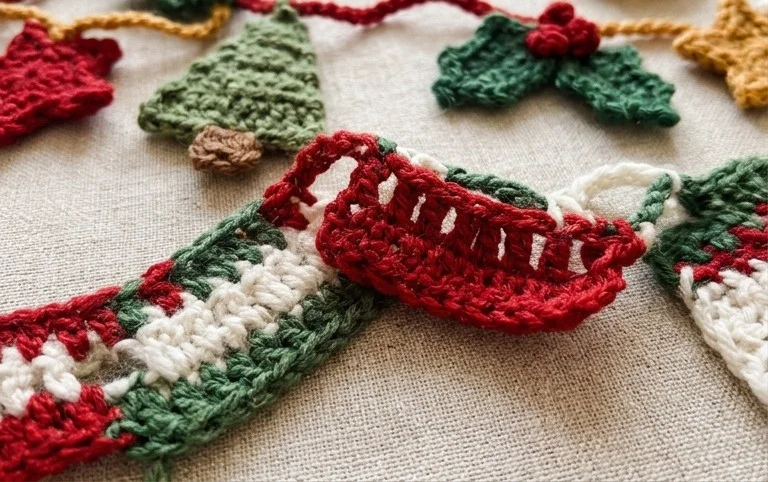
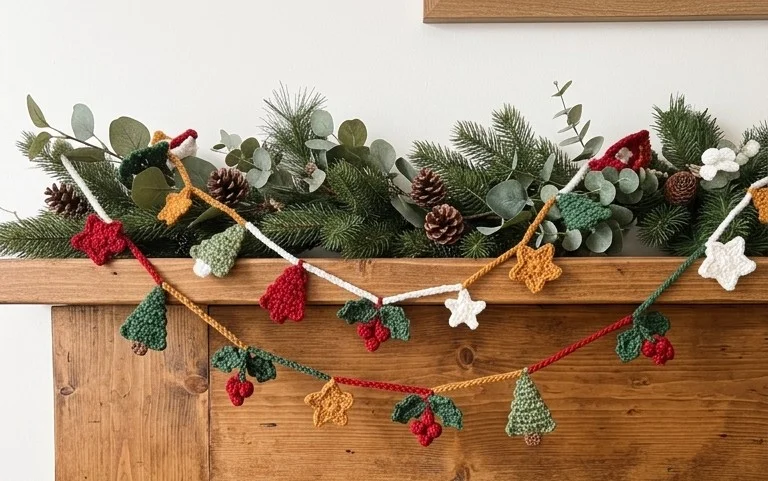
Seeing your handmade string of decorations hanging above the fireplace brings a unique personality to your living space during the dark winter season. You might experiment with adding metallic thread to the yarn for a subtle shimmer or crafting these motifs in muted earth tones to match your home decor. Please post a photo of your finished work on social media so others can see your color choices. Browse more free patterns on the blog to find your next afternoon project that fits your schedule.